An all-butter pie crust was my mother’s specialty in the kitchen. Some of my fondest memories were watching her make this pie crust recipe. Honestly, it was probably because it always resulted in a delicious snack or dinner that was (more often than not) completely devoured before the night was through. She used this pie crust recipe for everything from apple pie, pumpkin pie, to chicken pot pie. It’s easy, delicious, and will impress damn near anyone you bake for.
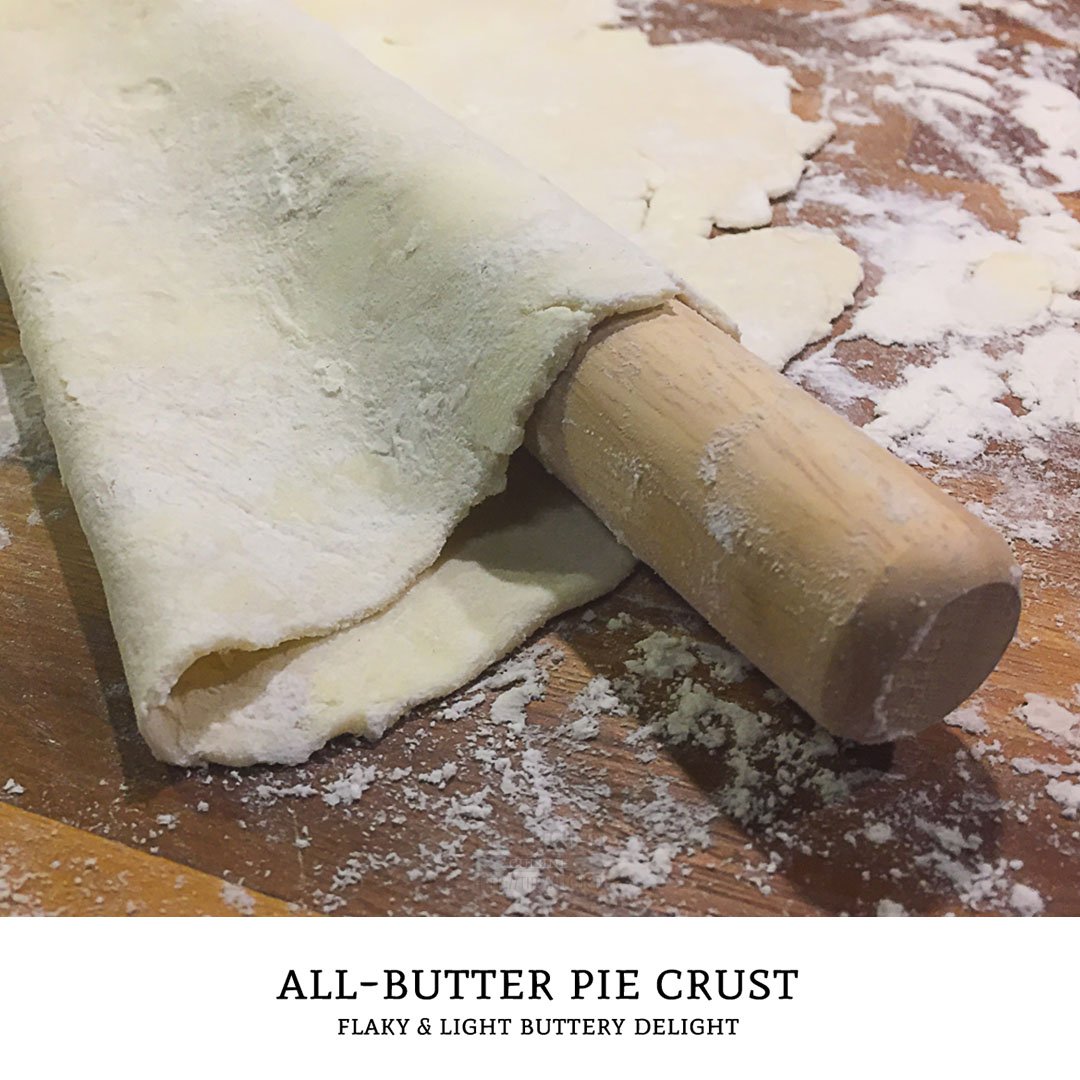
What I like about this pie crust is that it’s soft, but durable enough to stand up to a heavy fruit pie without a plate! I mean it. You can literally pick up a slice of pie and walk across the room with it in your hand. The flavor is buttery and it’s texture is flaky and light when you bite into it. The crust browns nicely with an egg wash and typically cooks evenly. If you’re looking to make a homemade pie crust, this is the recipe I usually use.
All-Butter Pie Crust: Tips, Tools, & Techniques
How To Bake Delicious Homemade Pie Crusts
- Keep all your tools and surfaces cold.
- Prepare enough space to work.
- Work faster by using the right tools.
An important factor in making this pie crust recipe is that you absolutely have to keep everything cold. I continue to refrigerate the butter throughout entire the process. My mother was fortunate to have a slate countertop that stayed cool while you worked on it. I recommend you find a similar work surface that is large and stays fairly cool to the touch. While you roll out the pie dough, the coolness of your work surface will keep the butter from melting into the flour. This is what helps get you those flaky layers most people love in professionally made pastries. After you choose your work surface, wash, sterilize, and let it fully dry before every time you’re about to work on it.
Getting the butter integrated into the flour quickly can also be challenge. A few quick pulses in a food processor will usually do the trick. If you don’t have a food processor, you can cut the butter in with either a pastry cutter or a bunch of butter knives attached to each other with a few rubber bands. (I’m serious, that works.) I recommend that you freeze any manual tools before using them to keep them cold while you work.
Another tool you will need is a good rolling pin. Let’s face it, a rolling pin takes up a lot of space and is heavy. If you live with a tiny kitchen, it’s hard to sacrifice precious inches to an infrequent, yet important tool. Always find an alternate use for your tools. I personally prefer a dowel style rolling pin in my kitchen. It’s compact and I can also use it to crush nuts or tenderize meat without the fear of damaging a delicate handle.
Recommended Tools To Get From Amazon

Ninja Master Prep Chopper, Blender, Food Processor
This is the food processor/blender that we have in our tiny kitchen. The blades are super sharp, the motor is powerful, and it stores small. I’ve been very happy with our Ninja Food Processor. The storage footprint is about 12-inches tall, 7-inches wide, and about 11-inches deep.

Spring Chef Dough Blender
A sturdy pastry cutter (or dough blender) is a useful tool to have in your tiny kitchen. This heavy duty pastry cutter is sturdy and will not fold or bend if you use it on hard, cold butters or even nuts. It takes up about 5-inches by about 4-inches of drawer space, but it’s hollow so you can store small items inside it to condense things a bit.

Thunder Group 12 Inch Wooden Rolling Pin
This rolling pin is very similar to the one I use. The Thunder Group Wooden 12-Inch Rolling Pin is lightweight and thin, but still carries enough heft to roll out tough dough. I store mine in the same area where I keep the plastic wrap type rolls. It’s a similar size at about 12-inches long by 1-inch thick.

Pie Crusts: Butter vs Shortening vs Lard
A lot of you may have mothers or grandmothers that swear that their way of making a pie crust is the only way. Some might say only use shortening. Some might say lard. Well, none of it is true. There is not a single correct type of fat to use when in your homemade pie crust. Each type of fat creates a different type of crust. Each pie crust has a different purpose.
[clickToTweet tweet=”The fat you use determines the type of pie crust you get. All-butter pie crusts come out flakier and more flavorful.” quote=”The fat you use determines the type of pie crust you get. All-butter pie crusts come out flakier and more flavorful.” theme=”style3″]
If you’re interested in food science, I’ve included a few additional resources at the end of this article that discuss the properties of eat type of fat and how it reacts in a homemade pie crust. For most pies, I use butter. Even though it’s more difficult to use, I think it comes out flakier and plays well with a wider variety of pie fillings.The secret to working with an all-butter pie crust is: Keep it cold and don’t overwork it.
Bake a Better Pie Crust By Knowing Your Flour
All-purpose, pastry, and cake flour… does it matter? Yes! It’s not a myth that that your homemade pie crusts will come out lighter and more tender if you use pastry flour or cake flour instead of straight all-purpose flour.
All flour has protein in it. The amount of protein determines how light or dense your baked goods come out. More protein makes baked goods more chewy. All-purpose flour has 10-12% protein. Pastry flour has about 8-10% protein. The precise amount can vary by brand or by region.
If you want to primarily bake pastries or cakes with all-purpose flour, look for flour with a lower protein content by selecting a brand that uses soft wheat. To further reduce the protein, you can substitute 2 tablespoons of all-purpose flour (per cup) with 2 tablespoons of cornstarch. Doing this will get you about the same consistency as pastry flour. If you already have pastry flour, see the section below for how to use pastry flour in this recipe.
Additionally, properly handling your dough will also keep it light and fluffy. When you mix and roll your ingredients, be gentle and avoid extra strokes. Working flour into wet ingredients creates gluten. Gluten is what gives dough that elastic texture. You want to have the ingredients just barely come together without falling apart. If you put too much work into it, your pie crust will be dense and chewy—no matter what type of flour you use.
Using Pastry Flour In This All-Butter Pie Crust Recipe
If you already have pastry flour on hand, you can still use this recipe! Just replace the dry ingredients with 3/4 cup all-purpose flour, 3/4 cup pastry flour, and completely omit the cornstarch. Follow the rest of the recipe as is. The result will be the same buttery flaky crust.
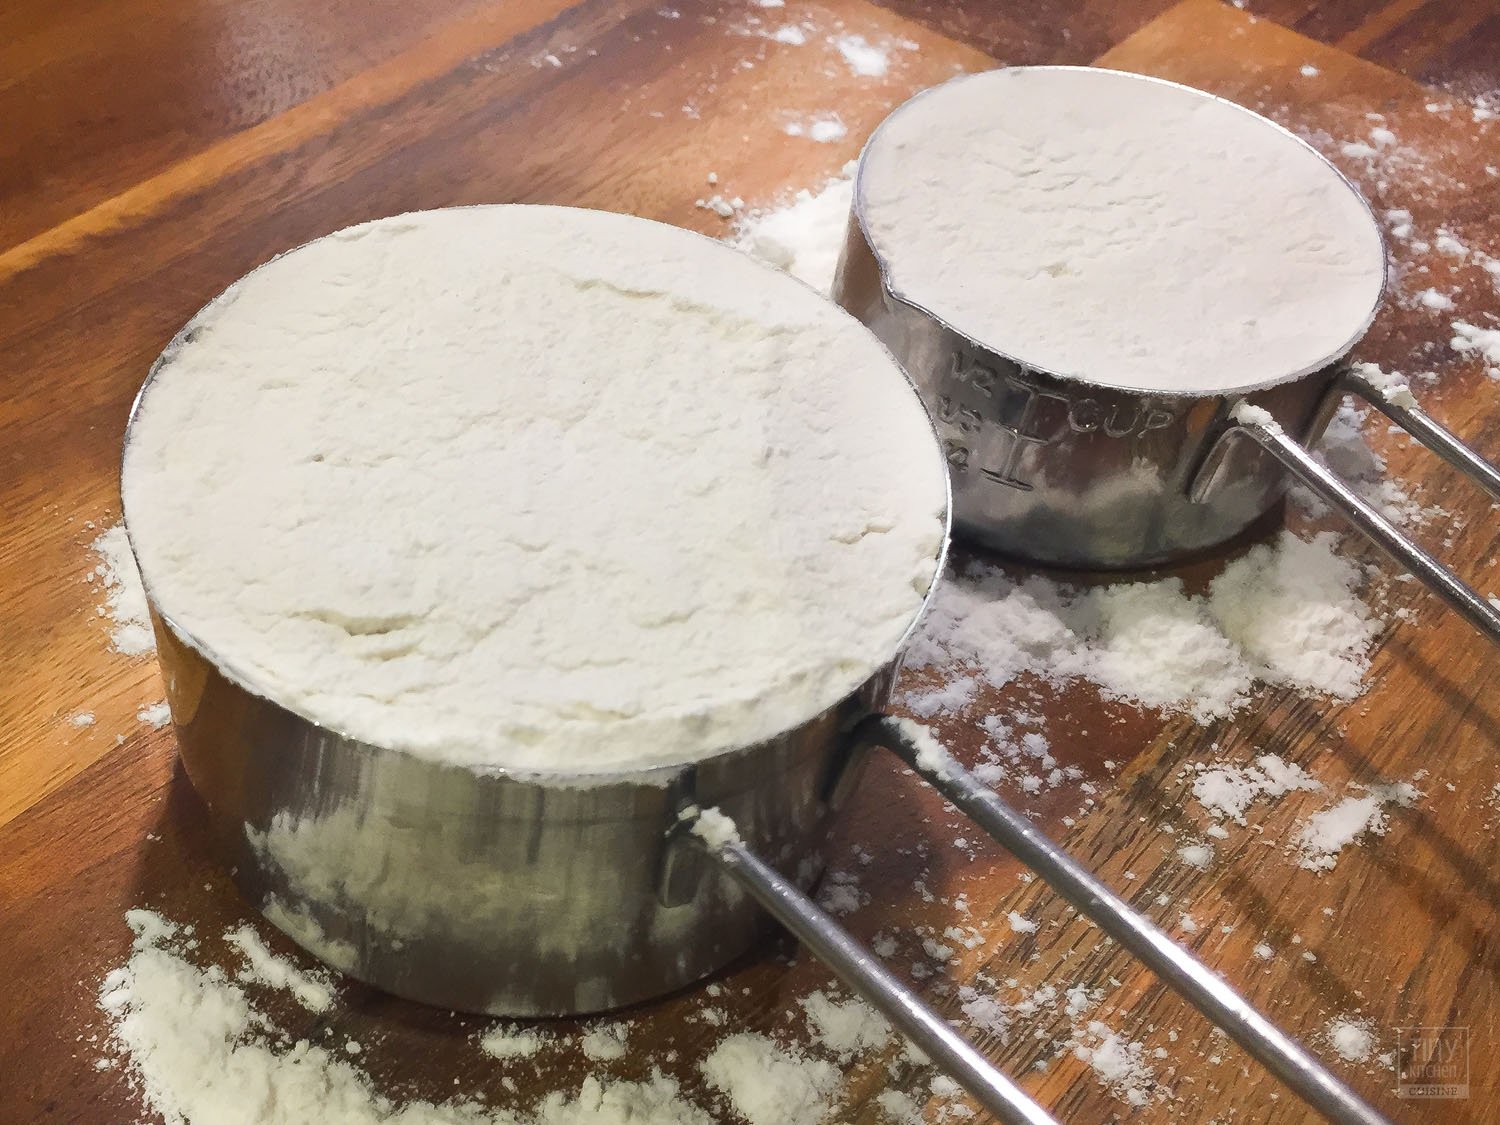
Be Precise: Measure Twice
My last bit of advice is: take your time. Measure your flour and ingredients properly. Any extra amount, no matter how small, might result in a heavier crust. Use a spoon to scoop the flour into your measuring cup. Always level it off before dumping it into your mixing bowl. Do not pack it down. For this all-butter pie crust, you want it to be light and fluffy. So you want your flour to be light and fluffy. I even go so far to as to fluff all my dry ingredients with a fork before integrating it with the butter.
Also, take note of the humidity in the air. If it’s a dry day (or you live in a small space with an actively running dehumidifier) you might need more water to get your dough to be fully moistened. Learning the consistency of the dough is key. Just keep practicing and eventually you’ll figure out what feels best for a pie dough on any given day.
Ingredients
- 1 1/2 cups all-purpose flour (minus 2 tablespoons)
- 2 tbsp cornstarch
- 1/2 tsp salt
- 1/2 cup unsalted butter (very cold)
- ±4 tbsp water (ice cold)
Instructions
Make The Pie Dough
- Fill a cup with ice and 1 cup water. (You won't use it all, but having more icy water available is better than not enough.)
- Dice the butter into small cubes. Put it in the refrigerator.
- Add the flour, cornstarch, and salt to a mixing bowl or food processor. Combine and fluff the dry ingredients.
- Get the butter from the refrigerator and cut it into the dry ingredients. Stop when your butter is about the size of large peas. A pastry cutter or food processor is recommended to avoid overworking the butter.
- Divide the dry mix in half.
- To one half of the dry mix, slowly add cold water, one tablespoon at a time and gently mix until it combines into a ball and cleans the sides of the bowl.
- Divide everything again to get 2 piles of dry mix and 2 piles of wet dough. Refrigerate one pile of dry mix and one pile of wet dough.
- Take the remaining piles and gently mix them together. Do not overwork it. You want it to come together without it being sticky or crumbly. You may need to add an additional splash of ice water.
- Lightly pat the dough into a disk and tightly cover with plastic wrap. Refrigerate and repeat with the remaining unmixed dough.
Roll the Pie Crust
- Lightly dust a work surface, the dough, and your rolling pin with flour.
- Roll out the dough until it's about 1/4-inch to 1/8-inch thick and about 12-inches in diameter. Occasionally rotate and dust with more flour as needed.
- Transfer to your pie pan. Gently press down to work out any air bubbles. Trim excess dough to within 1/2-inch of the edge of the dish.
- Use as directed in your favorite pie recipes.
Notes
Making Pie Crust in a Tiny Kitchen
You’re going to need room! Assembling an all-butter pie crust is easy in a tiny kitchen. The challenge is getting a surface large enough to roll the crust out. I recommend either sterilizing your largest work surface (even if it’s your dinette table) or getting a large heavy cutting board that you can lay across your stove top or sink. When you roll out the dough, you’ll be applying pressure, so be sure that whatever area you choose, it’s sturdy and won’t move too much.
When making this all-butter pie crust recipe, you’re not using too many dishes. Clean up includes a large bowl, a spoon, a pastry cutter (or food processor), a measuring cup, and a rolling pin. Your work space is going to get covered in flour and messy. Accept it and make it part of the fun.
The pie crust can be made in advance and the recipe can be doubled or tripled as needed. Homemade pie crusts will stay good in the refrigerator for up to 48 hours or in the freezer for about 3 months. From frozen, thaw in the refrigerator overnight before you want to use it. Before rolling your pie crust, let it sit on the counter for about 5 minutes. This will soften the dough and make it easier to roll.

Pie Crust Resources: The Science Of Fats & Flours
- Food52: Pie Fats: Butter vs. Oil vs. Shortening vs. Lard
I liked this article because it’s a quick guide to the different types of fats that you can use when making a homemade pie crust. It’s solid resource to remind you of how each fat reacts once it’s transformed into pie dough. - King Arthur Flour: Butter vs. Shortening: The Great Pie Crust Bakeoff
They did a great job in this article by giving photos of how each type of fat looks after the pie crust is baked. It’s a great visual resource when selecting a fat that will yield a particular type of pie crust. - RecipeTips: Flour Tips and Substitutions
This page has a great list of all the different types of flours, their uses, and ways to substitute them in your recipes. It’s one of the most comprehensive lists I’ve come across.